
Electrical wiring may be complicated, especially for the beginner. That is why it is wise to contact a professional. Otherwise, you risk injury, property damage, or fire. If you want to undergo a do-it-yourself project with electrical components, there are a few fundamental concepts to understand about wire installation.
Wiring is a complicated process that differs significantly from other household renovations. So understanding the process will be quite beneficial for you.
A licensed electrician is required for home wiring in certain areas. This is due to the dangers involved that can result from a single technical mistake. To avoid making expensive errors during your installation, you need to work under the supervision of a professional electrician that you can get from www.bates-electric.com.
When it comes to house wiring, even if you do not plan to install it yourself, you should be aware of the fundamental rules for your safety as a homeowner.
Understanding Electrical Wiring
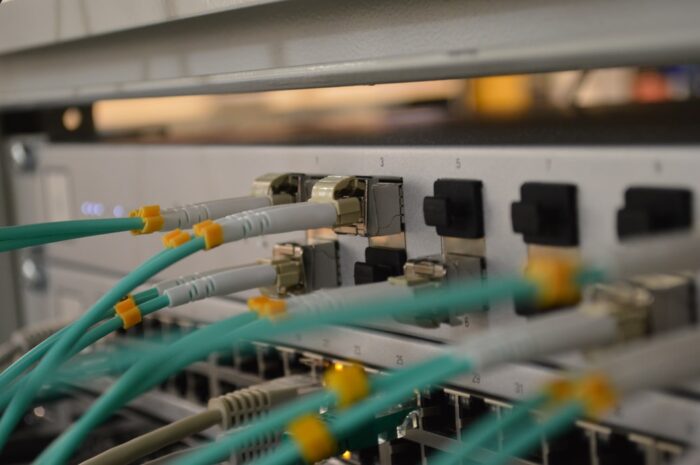
Since the 1940s, every new home (or any existing home that has been rewired) has been instructed to adhere to an electrical code: the National Electrical Code (NEC). The NEC was created keeping the safety of the owner in mind. The National Electrical Regulation (NEC) code differentiates between electrical wires and cable types based on color. Remove the switch plate, and most likely you will find yellow, white, black, red, or green wires running through it. Each of those wires has a particular function.
Electrical Codes on a National and Local Level
When it comes to residential and commercial wiring, professional electricians always follow the National Electrical Code (NEC). It is a massive volume that covers national standards for both residential and commercial wiring.
Local building authorities often modify the National Electrical Code, making sure your work meets with such modifications. It is relatively uncommon for the municipalities to have vastly different codes. In some cases, plastic boxes may be permitted in one location, while metal boxes may be required in another location. Before you begin work, get your wiring designs approved by a local inspector.
If the present wiring does not comply with local building regulations or codes, your building department will force you to upgrade the wiring. Only newly installed electrical work is required to be code compliant. However, if the existing wiring is dangerous, it should be replaced.
So, now that you know about wiring and the codes to follow, let us know about the steps that should be followed when wiring your house!
Steps to follow when Wiring
Create a Writing Diagram
Create a wiring diagram that illustrates the location of the breaker box, and the path taken by the wires to reach each outlet.
Disconnect the Power Source
It is very dangerous to skip this step. Do not let your confidence get the better of you. Make sure to turn off the electricity before any wiring work in the house, no matter how little the project. Turn off the electricity to the circuit that feeds your home meter, or contact your power provider to turn it off for that short time.
Installing Conduits
Start with the longest cables first to avoid wasting time and money. Install conduits in walls even if you do not intend to use them right away to save money. Start each wire at the top of the stairs and pull it all the way down to the basement. This allows you to avoid the use of a ladder to push the wire up between floors
Also, allow at least one foot of additional wire at each end, in case any rearrangement is needed later.
Determine the Number of Outlets
Determine the number of outlets and switches that will be connected to a single circuit. For example, standard recommendations for 110-voltage circuits in a living room include six outlets per circuit. On the other hand, two outlets per circuit are standard in a kitchen, where equipment uses more power.
Make Wire Holes
Always check the other side of the wall or floor before drilling any holes to ensure that you do not drill through any electrical cables or ductwork by accident. Drill holes in the center of the studs with a 1-inch bit to accommodate the wires running through them. The greater the number of outlets in your house, the safer it is.
Install a Breaker Box
Place your breaker box in a convenient location where you will reach it when required. It is preferable to install the box in the basement or utility room.
Connect the Wires to the Outlets
To connect each circuit, place a spool of wire at the breaker box and pull it to the nearest outlet or switch as directed by the circuit layout diagram. The cables can also be routed directly via the box. Any wires coming from the box can be covered with drywall or cut from the electrical box.
Wire strippers should be used to remove the external plastic covering from the ends of the wires before attaching them to each outlet, fixture, or switch following the directions on the packaging.
Connect the Circuits
Install separate circuits for each wiring system. The circuits must be sized appropriately for the wire’s amperage and the outlet’s intended use.

Things You Should Know
You must ensure that each circuit has the appropriate cable size. For example, a 14-gauge wire is appropriate for use with 10-and 15-amp circuit breakers, respectively. Any breaker with a current rating of more than 15 amps will require a 12-gauge wire. Additionally, a 30-amp breaker will need a 10-gauge wire, while a 50-amp breaker requires an 8-gauge cable. A single circuit should be used to power equipment that can handle 240-volts.
Conclusion
The process of wiring a home is very complicated. Therefore, it is wise to proceed with caution and ensure that you are working under the guidance of a licensed electrician. The importance of safety cannot be overstated since a faulty connection may result in appliance damage, a fire breakout, or electrocution.
Do not rely on assumptions; instead, follow the manufacturer’s instructions when installing equipment at home. Before you start, set aside some time to plan and complete the process correctly.


")
")


