
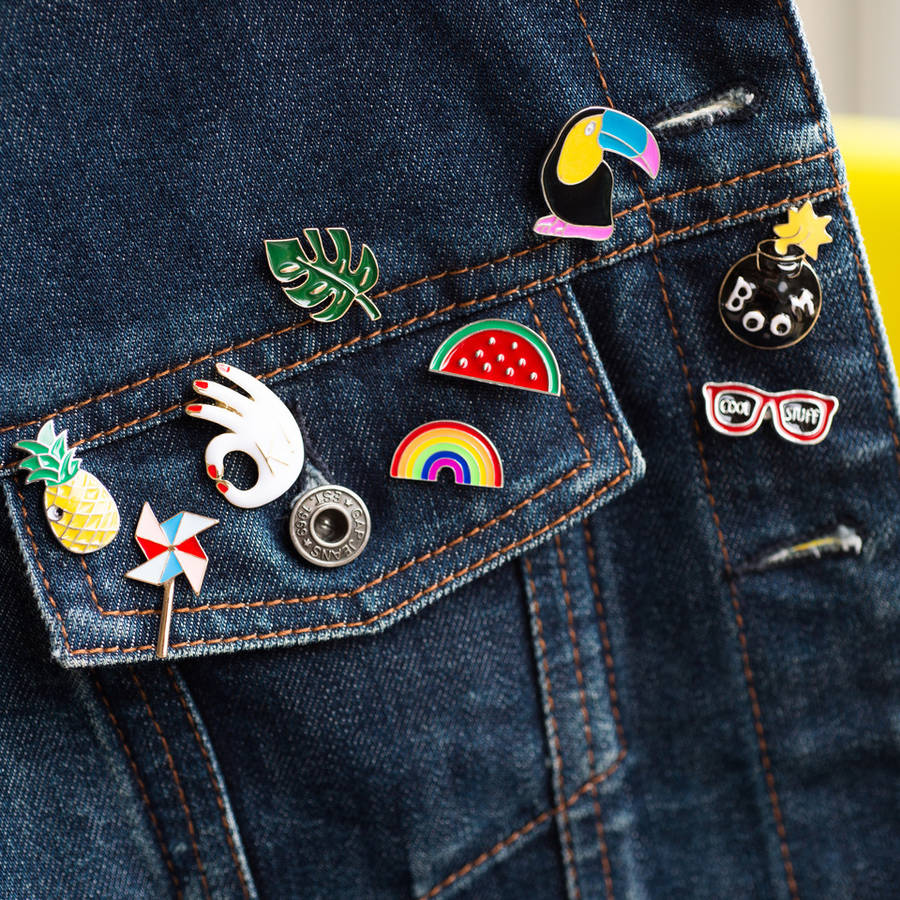
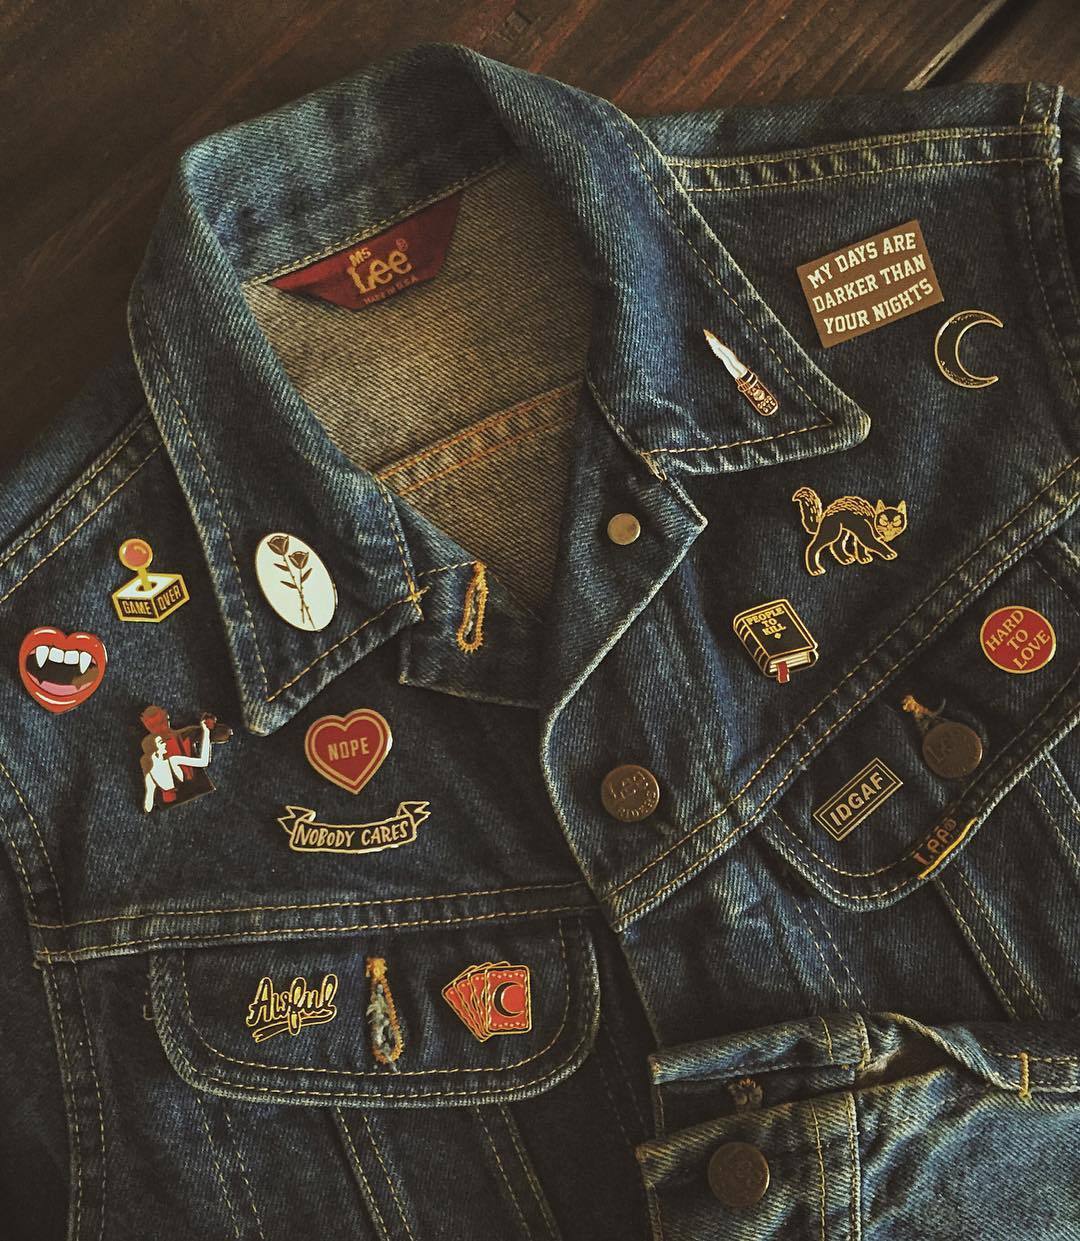
Enamel Pins have soared into popularity by fashion designers who are looking to add a little extra to their fashion creations.
Enamel pins are tiny metal pins that can be highly customized to your liking with design features that include illustrations, logos, and literally anything you come up with. Enamel pins are excellent accessories to your attire and can even be considered an extension to a person’s personality by attaching them to jackets, backpacks, hats, and more.
This article will serve as an intermediate guide to creating enamel pins. Stick around as it might prove useful to you.
Where Do We Start?
Before we start building anything, we need to assess all the materials we need for the project. So naturally, the first step would be to gather the tools that are available to you.
If this is your first time making enamel pins, then this post will explain everything there is to know.
1. Find a Niche for Your Enamel Pins
Custom designing enamel pins are all down to finding the right audience that you will be targeting with your designs. A business needs an audience to grow, and we do that by finding a cool niche. Once you’ve got this one ticked off, everything else will be much easier.
But if we are to help you in some way or another in finding your niche, we would suggest you go with something that you are passionate about.
2. Create Your Design
As soon as you’ve covered everything in the first step, it’s now time to start creating your designs. You’re not required to have design skills in order to create beautiful pins. There are a lot of services out there that can create designs for you, such as EnamelPins.com.
But if you still like to get into it, then we’re going to help you out by explaining the process. The best way to design enamel pins is to use eighter Photoshop or Illustrator. But we can understand that mastering this software can be tricky, especially if you have no prior experience in them, so that’s why you can use free alternatives such as Pixlr, SumoPaint, GIMP, or Paint.NET to create the designs.
3. Manufacturing
Now onto the manufacturing process and this one is more or less straightforward.
Namely, you need to find an experienced manufacturer, supplier, and distributor such as ViviPins, that will take care of the entire process. You will be selling your customs designs, but chances are you don’t have the manufacturing capabilities to manufacture the pins.
However, enamel pins can be hard or soft, so you will need to determine which of those you will be focusing on.
Most of the time, people choose to make hard MyEnamelPins because they are of a higher quality. The making of soft enamel pins is not as difficult, and thus the pins can be made relatively cheaply. If you want to make sure that your pins will last a long time, then you should focus on making hard enamel pins. It’s because the enamel is set in by baking it at a high temperature and the metal is also hardened, so the pin will be more durable overall.
Soft enamel pins are the most popular choice for enamel pins if you are a beginner in the industry. They are generally better because you have more colorful options available to you with more texture details into your designs. Hard enamel pins are more rugged and durable, but are also more expensive and have more restrictions to them in terms of color and texture designs. They appear more subdued and less vivid than soft enamel pins, but they do use a clear coat of resin that adds a more textureless, or smooth surface.


