
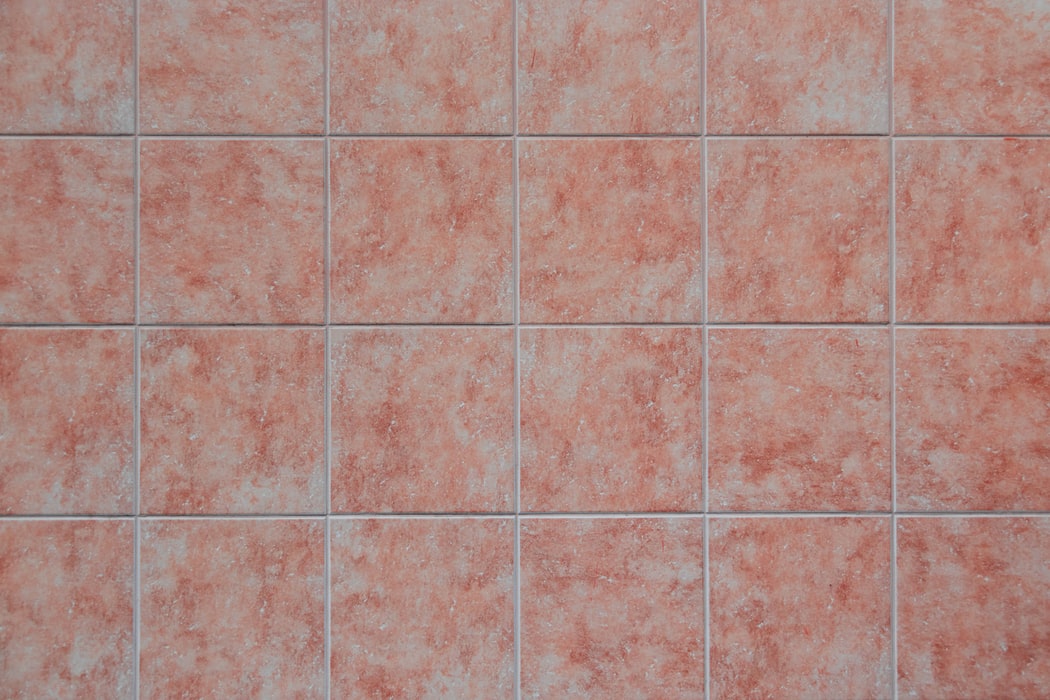
Your wall tiles might break due to heavy blows, crash with heavy materials or poor quality. You can avoid this problem using strong wall tiles like thos found at tileclub that last at least 20 years.
However, replacing broken tiles can be a complicated task, and depending on the type of hardness and thickness of the tiles. You will need to use a cold chisel or hammer to widen and spread the crack.
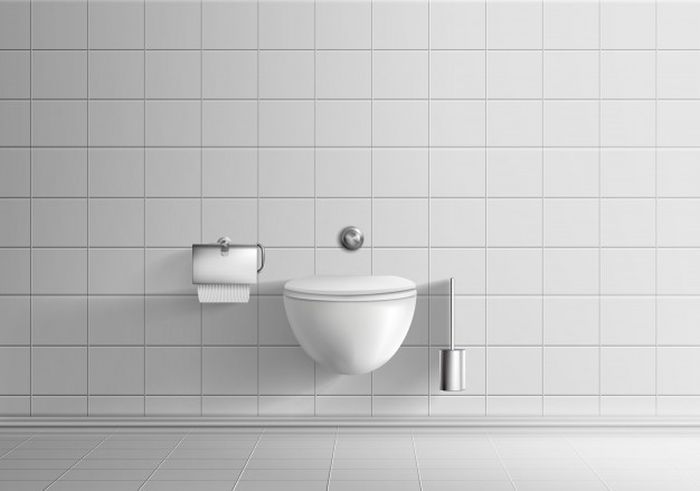
To make your job easier, we’ve written this step-by-step guide on how to replace broken tile from walls. If you are looking for some inspiration then Brickstone Home has compiled a list of 30 white subway tile design ideas.
Tools and Materials
- Hammer
- Cold chisel
- Power drill
- Trimming knife
- Sponge
- Masking tape
- Tile adhesive
- Matching grout
- Grout Rake
- Bucket
- Dustpan
- Brush
How to Replace Broken Tile from Walls
Step 1
Clean the surrounding area thoroughly to make sure there is no dust or dirt. Lay down the dust sheet or materials to keep the floor clean. Most importantly, bring all the tools and materials needed before starting your job.
Step 2
Remove the grout – the larger the grout gap between the tiles, the better. The grout is essentially a fine cement. Using the masking tape, cover the adjacent tiles around the target tile. This is to avoid scratching the right tiles. A recommendation is to duplicate the adhesive tape in the following rooms, with the principle of better prevention than cure. Sliding with the grout rake is a breeze, so giving the tiles that extra protection is worth it.
Try using the knife to start groovin the grout, several passes may be necessary. Then, assuming the grout gap is not too small, use the grout rake and remove as much of the grout as possible. If you have access to the specialized Exact Cut tool, with the diamond dust blade, you can carefully remove the grout with this machine. The corners must be finished with the grout rake
Sometimes the spaces between the tiles are established using transverse plastic dividers at the corners of the tiles and placing them on the grout so that they are covered with grout and therefore not visible. Pay attention to these and if they are present, try to cut them with the knife.
Step 3
Put a piece of masking tape in the centre of the tile, or as close to the centre as possible. This will help prevent the bit from sliding on the surface of the tile. If the tile is extensive, install more than one piece of tape, evenly spaced. This is a simple but crucial step on how to remove broken tile.
Step 4
Drill a hole in the tape to weaken its surface, using a combination drill equipped with a tile drill. First, use a slow speed to adjust the gap and drill the tile. Do not drill too much. Otherwise, you could hit any pipe or wire on the wall.
Step 5
This is the foremost step on how to remove broken tile. With your cold chisel, gently tap more tile into the holes and hopefully cut a few pieces. When removing the pieces of tile in this way, the adhesive behind the tiles should be soft enough. It will allow the rest of the tiles to be removed, striking with the cold chisel and hammer.
An old wooden chisel can help you here. The idea is to stand behind the tile and away from the wall. The remaining grout which still adheres to the neighbouring tiles must be removed by peeling it off with the wood chisel and, if necessary, with the knife.
Step 6
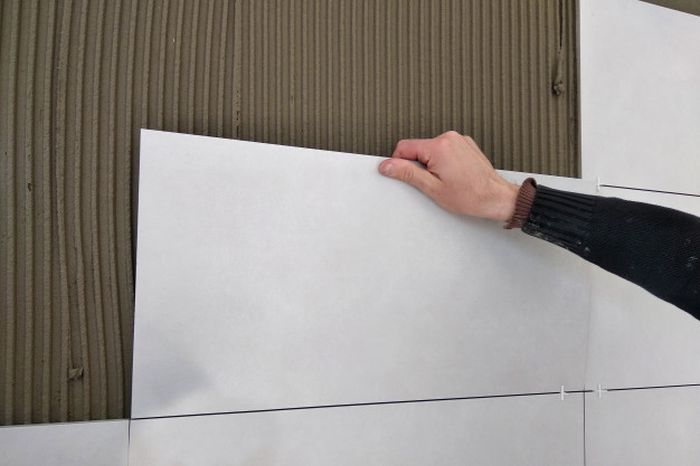
Insert the new tile, without adhesive, to check that it fits well in the space. It must not protrude from the wall more than the surrounding tiles. If this is the case, scrape off the old adhesive a little more. Cover the back of the tile with tile adhesive, using a grout spreader, and place it in the space. Press the tile in place and make sure it is flush with the other tiles.
Step 7
Adjust the tile spacers at right angles to the tile surface to keep the grout-free and to prevent the tile from sliding out of position before the adhesive is dry. Wipe off any adhesive on the front of the tile with a damp cloth. Let stand 24 hours, remove the plastic tile separators and then the grout to finish. Thus, the job of how to remove broken tile ends.
Safety Measures
Since this process will involve cutting broken tiles, it is imperative to wear safety glasses or other protective glasses. Small Swiss chard can be extremely painful, and even when washed, it can cause eye pain for a considerable period. A pair of sturdy gloves is also a good idea since broken tiles and broken tiles can be very sharp.
Whether it is walls or tiles, the principle is to go through the top surface of the glass and remove the material underneath, be it ceramic, porcelain, terracotta or stone. For not affecting neighboring tiles, it is crucial to separate the tile you are removing from the other tiles.
Pro Tips
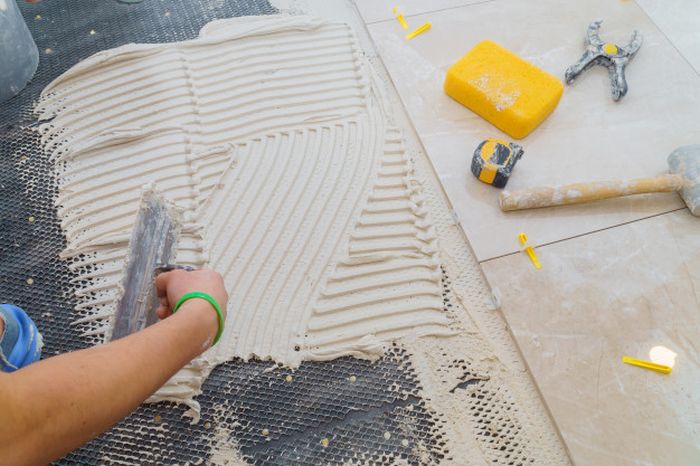
When replacing it with a new tile, have a strong rope or polypropylene rope handy. Spread your adhesive and use four ropes, two in each direction on the adhesive to form a network effect.
Carefully lay your tiles and press it. It is essential to make the tile fully compatible underneath to avoid imposing restrictions on it since it has to support a lot of weight.
If there is not enough or even too much adhesive, it may result in uneven tiles. Use the ends of the strings to pull the tile in. The rope can be cut and pushed below the surface by applying grout.


")
")


