
Setting up a laser engraver to cut through metal, wood, and various other materials isn’t as straight forward as you think. Like many things in this world, even laser engraving and cutting are considered an art in its own way.
That means that there are ways to do it correctly. Below, we provide tips and tricks for the proper use of a laser engraver and cutter.
So, without further ado, let’s start with the obvious one which is the process of setting up.
1. Masking
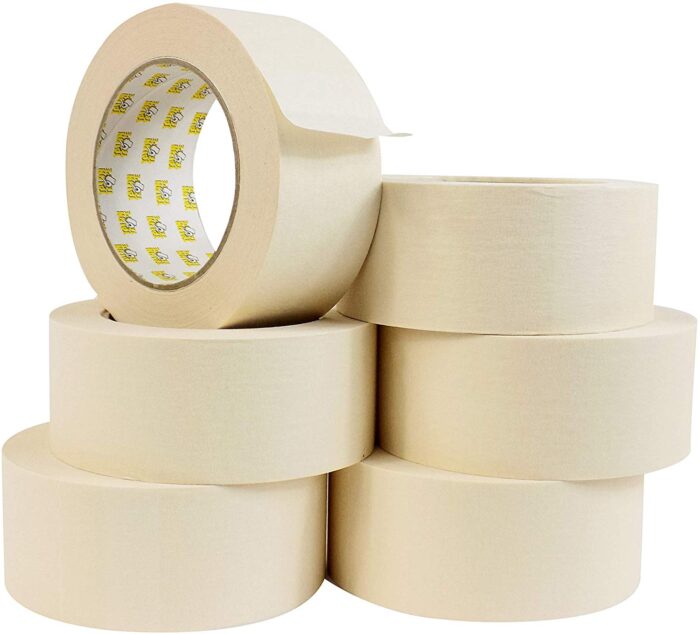
This process involves a few things. The obvious one is to mask the edges of the material that you’re going to be engraving or cutting. This will prevent any damage done to the material whilst also ensuring the job is successfully done.
The easiest way to protect the surface is by simply applying masking tape. Masking tape is specially designed for such jobs as it doesn’t slow down nor decreases the cutting power of the laser itself.
2. Creating Presets
Since laser engraving and cutting is a computerized process that can utilize the power of the computer to load, save, and even create new presets, an obvious tip is to always create them.
Presets make it possible for us to repeatedly cut and engrave without needing to input all of the properties of the material. This means you can use a preset for different jobs that include the same material.
It’s a great way to save time and energy.
3. Do Test Cuts
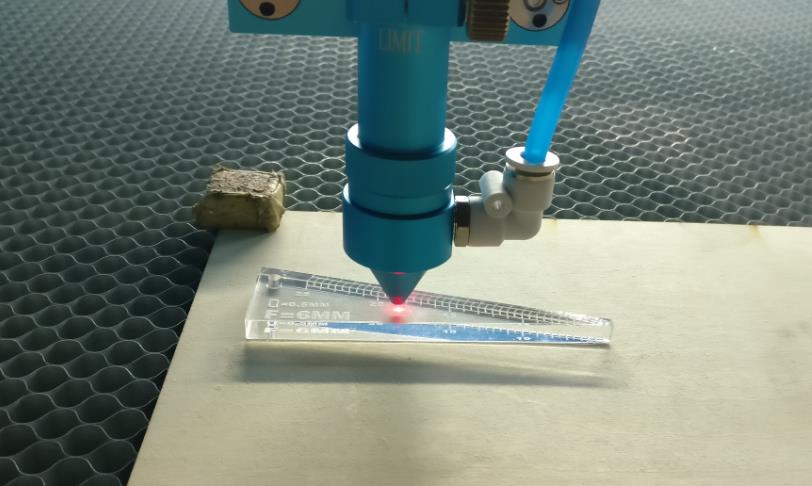
Before you fully commit to a preset, it’s always smart to do a couple of test cuts to make sure that everything is in order.
This one is quite simple and very straightforward. By doing test cuts you make sure that all of the properties are properly calculated. This eliminates the margins for error and ensures a successful laser engraving and cutting.
4. Use Layers
This next tip has more to do with the program you’ll be using instead of the actual machine. Laser cutting and engraving are done by loading up files from specific graphics programs such as Coral Draw and any number of Adobe products.
So, naturally, what you create in these programs is the design that you’ll be engraving or cutting. This means that you should invest a fair amount of your time into learning how these work to make sure everything runs smoothly.
And we’ll also tell you a very important tip when creating the designs.
Nearly every graphics program out there uses layers. Layers make it possible for us to give each part of the design of its own space where it resides.
This means that no two parts of the design will ever come into conflict with others. But there is a clear and obvious reason why you should use more layers when needing to laser cut or engrave.
More layers mean more control, and this gives the machine the option to create each layer individually. Regardless if it’s a laser engraving machine for metal or wood, the added control ensures that the design is properly incorporated onto the surface of the material.
This is possible for all kinds of computerized engraving machines, even C02 laser engraving machines. For more information about CNC laser engravers and cutters, make sure to visit DxTech.
5. Engraving on Wood
This is one of the most common uses for these machines. It is quite common for businesses to have their logos or an image engraved onto a piece of wood.
Not only does this look stunning and beautiful, but it also creates a timeless design for your business.
But the process of engraving on wood versos another material such as MDF or even plywood is significantly different. Wood has grains that make it harder for the laser to burn through. This creates lighter and darker parts and resembles a patter such as those of a zebra.
This unique and aesthetic pattern might not be up to your liking, so there is a way to create a uniform look.
The best way to overcome it is to apply a very thin layer of plywood. Since plywood doesn’t have grains, the zebra pattern will not appear once the engraving is finished.
6. Overlapping Lines
This is an expert tip that many people uncover once they’ve already made the mistake. Overlapping lines are very common when cutting and engraving designs.
And to best explain this, we’ll give you a simple case scenario. Let’s say that you have two squares that need to be engraved onto a piece of wood.
These two squares both come with four sides each. Let’s also say that you also want them one next to another. When you put them next to each other, you don’t see the two lines that overlap, but the computer does.
From our perspective, you only see one line, but the computer sees two. When you put this to production, the end will result in two lines being engraved instead of one.
You can imagine how this can mess up with your design as the overlapping line will end up being deeper than the others. There won’t be a clean-cut, but a rather burned one.
The obvious solution to this problem is to go back to the graphics design software and remove one line from either square. This way the laser will only engrave a single line as opposed to two lines.
7. Raster Vs Vector
It’s safe to say that raster engraving takes significantly longer to make than a vector score.
While this is seen as an obvious disadvantage, there are positives to using this type of engraving. Raster gives you the option to set the thickness of each line. By this, you are able to create different thickness lines across the design.
Compared to vector scores, the process of setting up different thickness lines is very much different.
When working with vector files, it’s about adjusting the speed and power at different parts of the design. Also, working with vector scores gives you much higher speeds.


