
The way we look impacts our confidence, and even though many people deny this, looking bad can make you feel bad in some situations. Beauty is a very important part of nature, and we cannot neglect that. Although the way we look shouldn’t be our top priority all the time, it still needs to be a bit higher on the list.
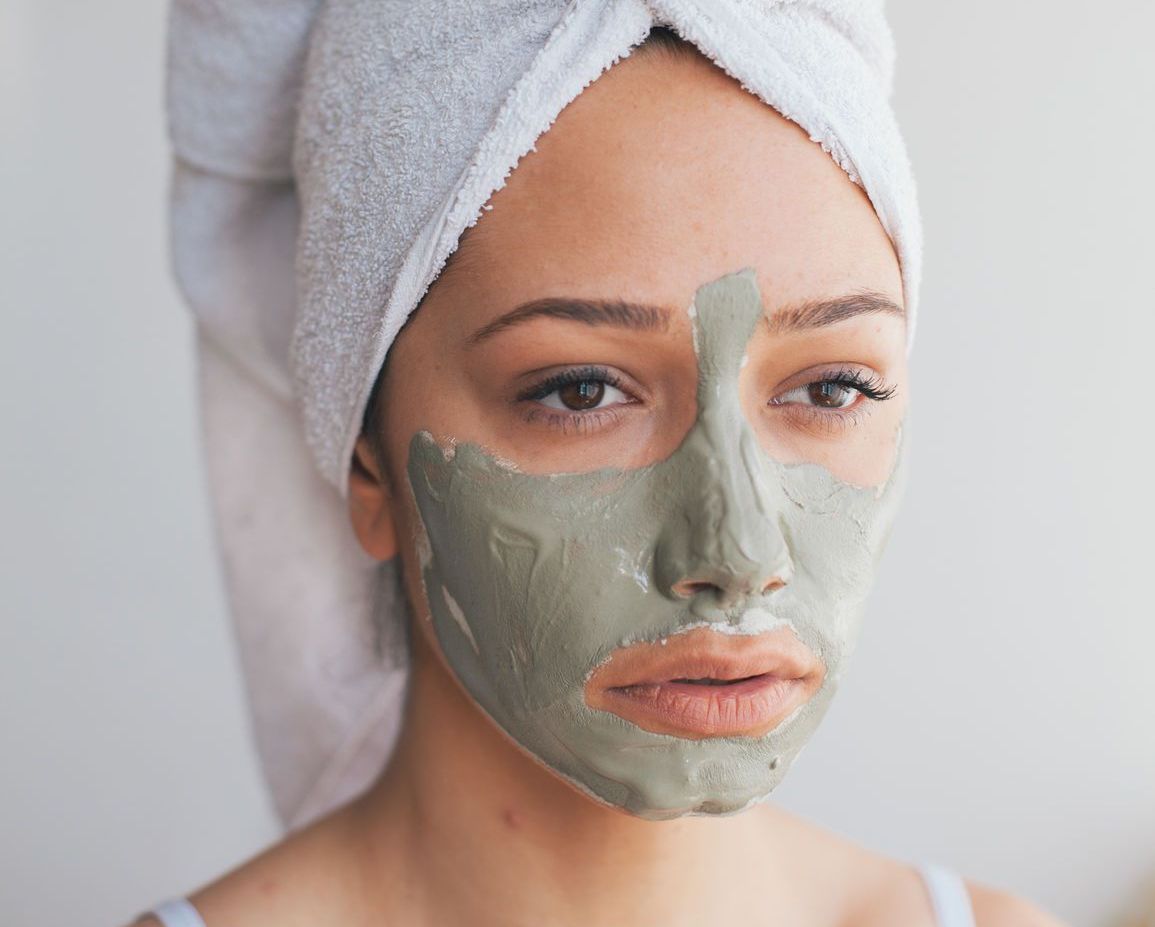
Nowadays, there are tons of different ways to improve the looks of your skin, and luckily for you, most of them can be done at home. When it comes to clearing up your face, there’s no better way of doing it than with a clay mask. Numerous benefits are proven through studies and research, and there is a reason why people are so interested in this method.
Today we are going to help you learn a few things about clay masks, and even better, teach you how to make your own at home. If you are a fan of creating your remedies and products while saving a lot of money, you’ll love what we have prepared for you. You are probably as excited as we are, so let’s end this intro right here and jump straight into the content.
Benefits of a Clay Mask

If you are slightly into dermatology or you’ve just read a few articles here and there, you probably already know that there are different types of skin that people can have, it’s a pretty basic fact. There are people with very dry skin, and there are people with very oily skin. Both have their pros and cons, so the best is considered to be somewhere in the middle, maybe slightly towards the dry part.
Those with very dry skin will often experience things such as skin cracks, and in some cases, there might be even some blood involved. It doesn’t hurt or anything, it’s just annoying to deal with, and very unpleasant to look at, and since beauty is what we’re talking here, it’s quite frustrating.
Those with very oily skin, however, will often have that “glowish” look and they might experience some irritation from the oil that’s coming out of the pores, so rashes and other similar conditions can be quite common, but not guaranteed. Anyways, a clay mask helps you clear out your face from any unwanted things on it, so let’s take a look at a very interesting recipe that you can do at your home without spending any money.
Creating a Clay Mask yourself
Before you start making your clay mask, you need to determine what kind of a skin type you have, because this will impact some of the ingredients that you’ll have to use. It’s nothing scary if you mess this up a bit, but for maximum efficiency make sure that you know if your skin is dry, oily or a combination of both.
Okay, now that we got that out of the way, here are the first steps.
You need to start by getting powdered clay and mixing it with some water in a bowl. If you think that your skin is more than enough oily, you should stick to using water, but if your skin is very dry, you are free to use Jojoba oil or milk, depending on your needs. We recommend Jojoba oil, but since we are trying to keep things as affordable and “DIY-able”, milk can do the job as well.
A very important thing that you need to keep in mind is that when you are doing all the mixing, you should use a bowl that’s made of any material that’s not metal. Ceramic or glassworks, just make sure that it’s not metal, because metal will have a weird reaction with the clay, and it will decrease some of the skin-clearing abilities. Something similar to eating honey with a metal spoon, so use ceramic or glass instead. For a few great examples, you can visit Loreal Paris
Needed Ingredients
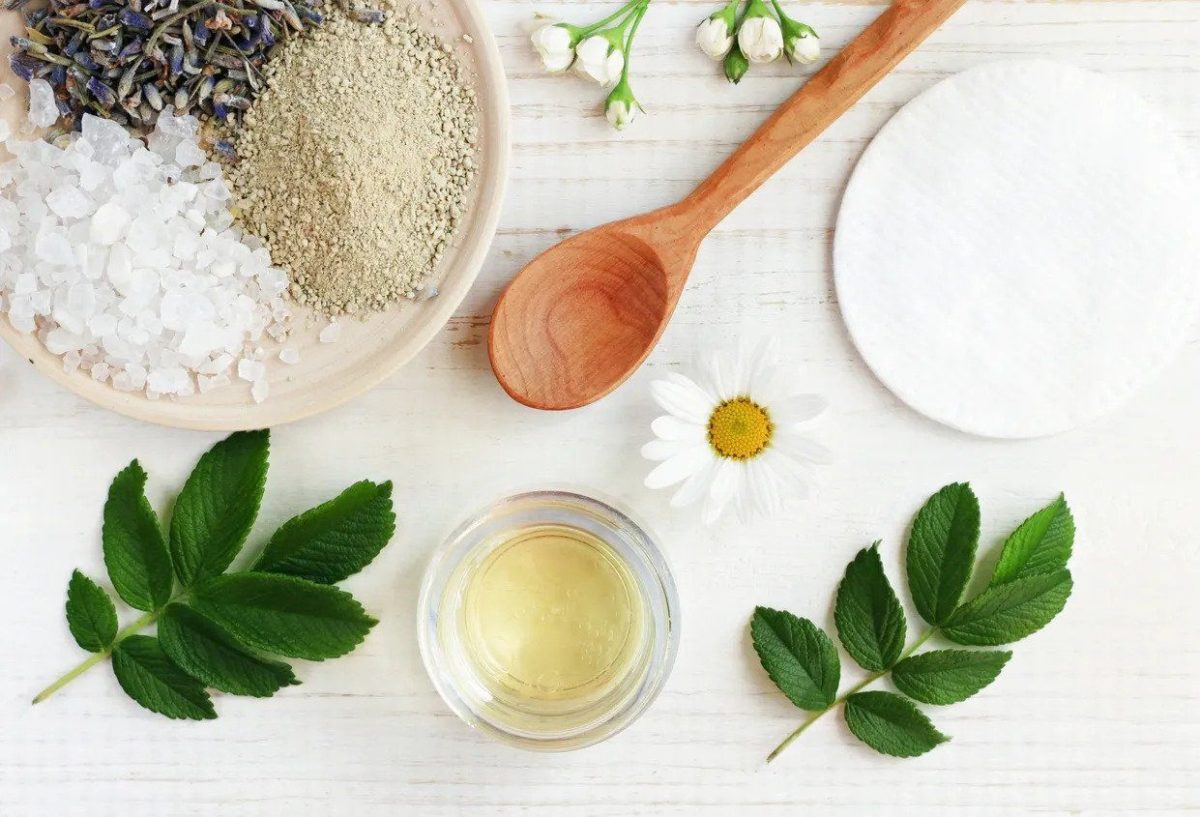
You can use any kind of clay that you want, kaolin or green, and they are very easily acquirable at your local health-shop or even at some more advanced food-stores. Ordering online is always an option as well, you’ll just have to wait a bit more.
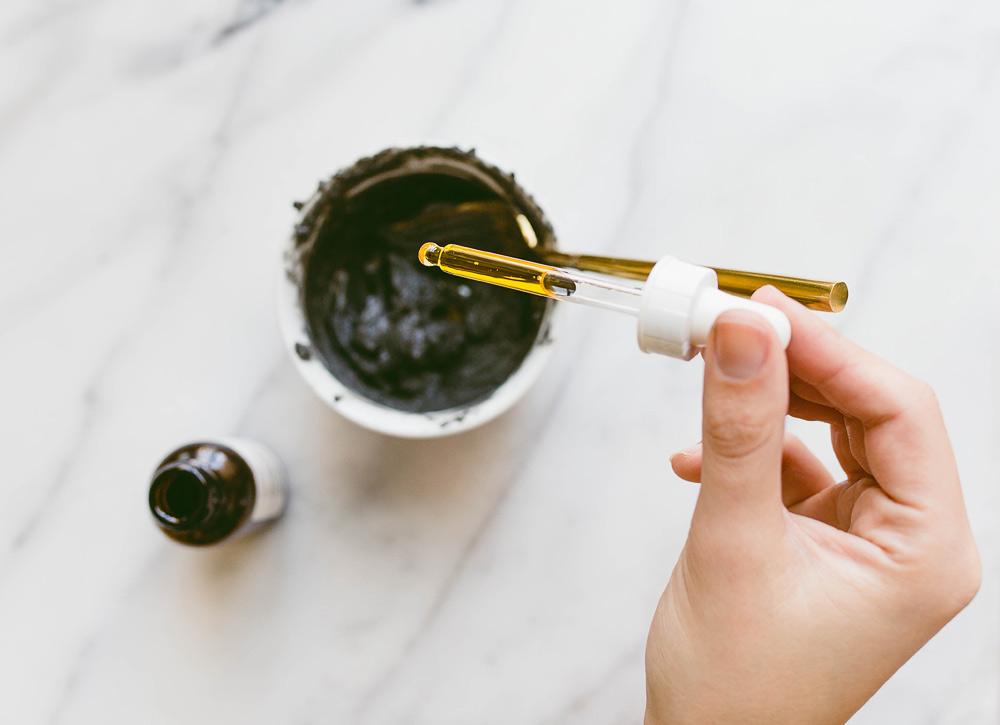
Approximately, the recipe requires you to use one and a half teaspoon of green clay, and one and a half teaspoon of kaolin clay. Then, to make the mixture more solid and “sticky”, use aloe Vera gel, about one and a half tbsp.
For water, we are going to use rose water, once again one and a half tbsp, and to finalize the mixture we are going to use three to four drops of essential oils, usually the ones that have an acne-reducing effect.
After you complete all of this, remember that you can store the mask in a refrigerator, and it can last somewhere between three to four weeks, meaning that you can re-use it in that period for as many times as you want, although more than ten times is not recommended due to hygiene purposes.
An Alternate Recipe
Although what we described above is probably the most effective method of skin-treatment, it doesn’t mean that there aren’t other simpler and more affordable solutions. This version of the recipe requires even fewer ingredients.
Use only green clay and mix it in a bowl with one teaspoon of honey. After that, you can add jojoba oil if you have dry skin, and if you don’t, use just water. If you notice that the mixture is not solid enough, you can try adding some more honey. You can add any essential oils that you want to use, although they are not required.
Getting this mask off your face might be slightly more difficult, but the healing effects of the clay and the honey will be well worth it. We are not sure exactly in what kind of condition this mask will be when you take it off, but if you think that it can be re-used, you can store it in the fridge and use it a few more times before throwing it away and making a new one. You’ll feel the effects of it immediately though. Make sure that you keep it on at least twenty minutes.


