
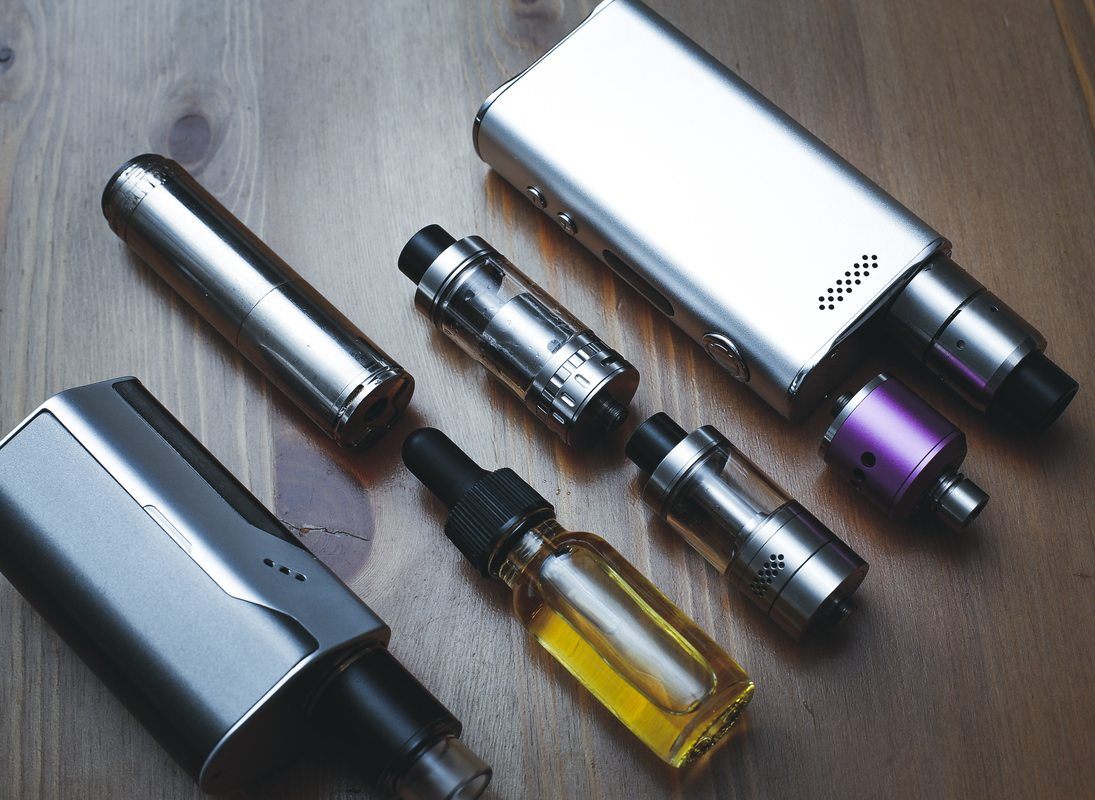
It’s worth the effort to keep your vaping device and tank clean. Why is that? Well, can you think of anything else that you put in your mouth a hundred times a day? Your mod and tank collect dust, pocket lint, e-liquid residue, dead skin cells and who knows what else. Given all of that, the question that you should be asking isn’t “Why should I keep my vape gear clean?” The real question is, why in the world aren’t you?
If you don’t take the time to clean your vape gear, it’s likely that your mod and tank are pretty gross. The good news, though, is that you only really need to give your gear a deep cleaning once. After that, you can maintain it just by adding a couple of extra minutes to your routine whenever you change your coil. Whether you get your vape gear from E-Cigarette Empire or elsewhere, you can clean it from top to bottom in just five minutes. Let’s begin.
How to Clean Your Vape Mod
Out of all your vape gear, your mod is probably the simplest item to clean. The only items that you require are a soft cloth and a cotton swab. A toothpick may also come in handy.
Start by using the cloth to wipe dust and grime from the body of the mod. If the device has contamination that’s particularly sticky or stubborn, you can moisten the cloth slightly as long as you don’t allow water to enter the device’s internal electronics through the buttons or the battery compartment. In most cases, you should avoid using a solvent like alcohol to clean your mod because it could damage the mod’s finish.
If your mod has a grooved or textured pattern that collects dust and pocket lint, that’s where the toothpick comes in handy. Use the toothpick to get in there and scrape the dust out.
Remove the tank from your mod. Push the cotton swab into the mod’s threading and twist it around to remove dust, corrosion and e-liquid residue.
Once you’ve given your mod a deep cleaning, it’s something that you’ll rarely need to think about as long as you maintain it by wiping the device with a cloth periodically.
How to Clean Your Vape Tank
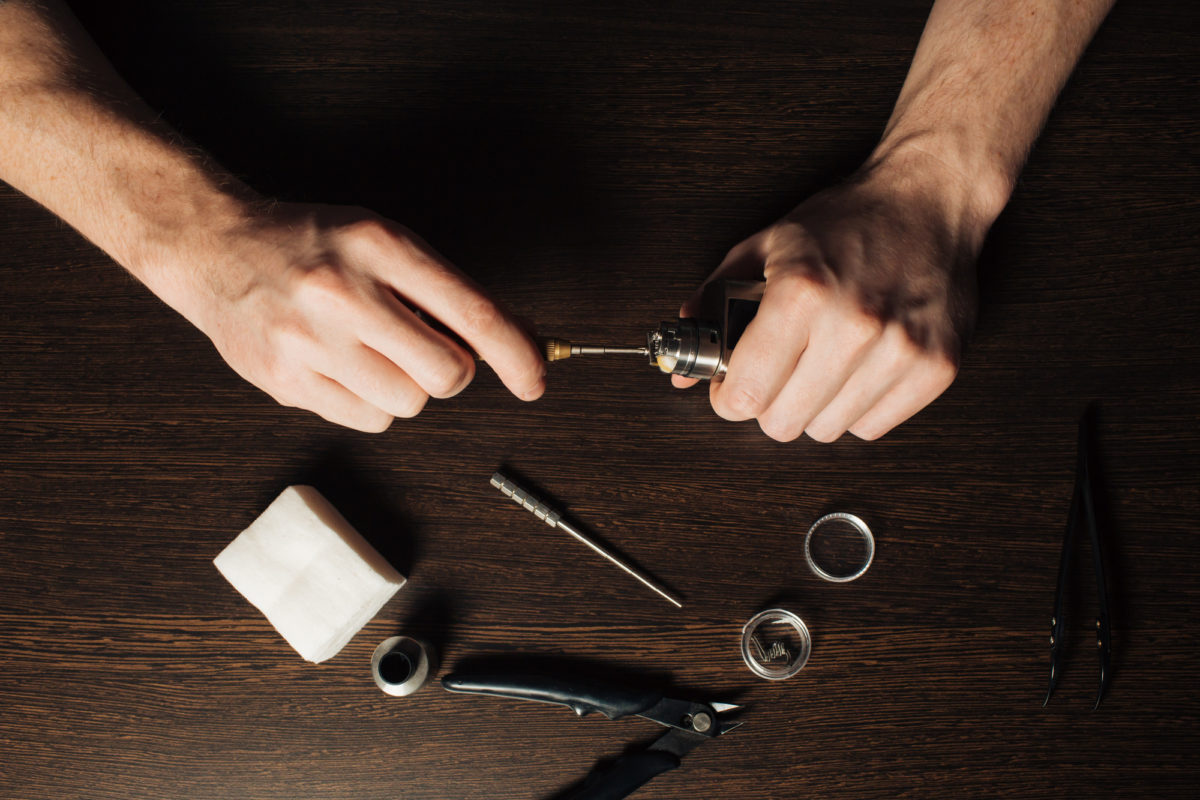
Cleaning your vape tank is incredibly simple if you just make it part of your regular coil changing routine. Since you need to take your tank apart to replace the coil anyway, the additional effort required to clean the tank while you’re doing that is really trivial.
When you’re ready to replace your coil, use the tank until it’s empty and remove it from your mod. Bring the tank to a sink and disassemble it. Remove the coil. If you aren’t going to use the coil again, you can throw it away. If you’re going to clean and reuse the coil, set it aside.
Rinse the tank’s bottom hardware, top hardware, outer glass and drip tip in the sink. Since the drip tip is the component that you put into your mouth, you may want to wash it with a bit of soap. Most of the time, you’ll have no trouble removing contaminants such as dust and e-liquid residue from your tank’s other components using nothing but plain water.
If your tank does have stubborn contamination such as lint stuck in an airflow vent, you can push it out with a cotton swab or toothpick.
After you’ve finished cleaning your tank, dry the components thoroughly with a paper towel. Then, you’re ready to install and prime the new coil. Once that’s done, reassemble and fill the tank. Give the new coil ten minutes to become completely saturated with e-liquid before you resume vaping.
How to Clean Your Vape Coils

In the previous section, we mentioned setting your used coil aside if you’re planning to clean it. If the idea of cleaning a vape coil is new to you, we’ll walk you through that process in the final section of this article.
First, though, a little background information. As you vape, the flavors in your e-liquid – particularly sucralose, the ubiquitous sweetener – leave residue on your atomizer coil. As you continue vaping, the layer of residue becomes thicker and thicker. Eventually, you’ll reach the point at which the taste of the residue completely overwhelms the flavor of your e-liquid. When you replace a coil because it’s “burned out,” you’re replacing the coil because of that residue.
Cleaning a coil can remove some of the residues, thus restoring a portion of the performance and flavor that the coil has lost through extended use. Although the flavor that you get from a cleaned coil definitely won’t be the same as what you’d get with a new coil, many people find that cleaning their gunky coils allows them to continue using those coils for several additional days when they’d have otherwise thrown them away.

To clean a coil, begin by placing it a bowl of vodka or hot water. Vodka is a more effective cleaner, but it’s also more expensive. If you use vodka for cleaning your coils, you can save money by waiting until you have several dirty coils and cleaning all of them at once.
For the next 24 hours, stir the bowl whenever you walk by it. After several hours, you’ll notice that the liquid has begun to change color. The water or vodka is working as a solvent, removing the residue from the coil. You may also notice some dark flecks floating in the liquid. That’s normal.
After the coil soaks for a day, you can remove it from the bowl. If you cleaned the coil with vodka, rinse it in the sink. Allow the coil to dry for another day before you resume using it. Remember that when you do resume using the coil, you’ll need to treat it like a new coil and prime it with e-liquid before you begin vaping. Otherwise, you’ll risk burning the wick – and no amount of cleaning will fix burned cotton.


