
You can easily build your own pizza oven in your garden just in ten steps. Can you believe that? In this article, we will try to prove this is the truth. Just read this text and get ready for building your dream brick pizza oven with us!
What is a brick pizza oven?
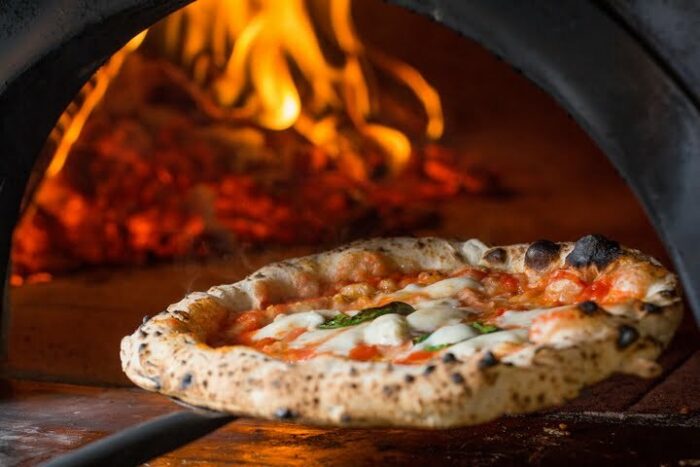
A brick pizza oven is an oven that is fueled by wood. This kind of oven is quite easy to build. Even if you think that building it on your own is out of your comfort zone – you should give it a try. If you are capable of basic DIY, you will manage it for sure. It’s a game worth playing, taking into account how many advantages wood fired ovens have!
With your own wood fired oven, you won’t have to leave your garden in order to eat something delicious. The most delicious meals will be the ones taken right from your oven in your own back garden! Believe us that after tasting your garden-made pizzas and different meals, you will never return to ordered food.
Building a pizza oven step by step
Before you start, you should think about the best location for your oven. Choosing a place near trees is not the best idea. Actually, this is a very dangerous one – you should give it up as soon as possible. The next thing is the oven design – you are the one who decides what your ideal oven will look like. Maybe you want a small brick pizza oven, or maybe you prefer something bigger – it’s up to you.
1. Lay the first block
The base of an outdoor pizza oven can be made from breeze blocks, concrete, bricks, or railway sleepers. You need something that will be strong enough to support your heavy pizza oven. In this article, we’re focusing on bricks, and laying the first block is the first step of the building process.
The location of the block matters – you ought to place the first block at the centre of your foundation. Just find the spot, mark it, and then, place the first block there. You should use cement to connect bricks together.
2. Test space
Stacking all the blocks for your base in order to see if it fits into the space you have chosen is a fairly reasonable solution. At this point, you do not need any adhesive to provisionally put together a base. Your goal is to make sure that you made the right decision about the location of your perfect wood fired pizza oven.
3. Cut blocks
The next step of the building process is all about cutting the blocks in accordance with the design specifications. You are free to use a speed square, which can help you to mark off the place where you want to make your cuts. Another piece of equipment that may come in handy is an angle grinder – with such a useful thing, you will be able to score the blocks. And finally, this stage will also require a chisel. To be more precise, you will need it so that you can split the blocks.
4. Layer and level blocks
This is the stage of realising that you try to build a really solid base upon which everything else is going to rest. This is the reason why taking care that the layer number one is plumb and level is so necessary. This is also the stage when you will need landscape adhesive.
Remember not to apply the adhesive to a random location. The best option is to put adhesive in the centre of each block. Thanks to this method, nothing will gush out over the sides. Don’t forget that before you place a block on top, you should use not just one, but two lines of adhesive. All of these details are to ensure that your outdoor pizza oven will not topple.
5. Place capstone
The next step is placing capstone, which is the base for your oven. After building to a height you are satisfied with, you ought to add adhesive to the top of the layer you are working on at the moment. Then, all you have to do is to place the capstone on this layer covered with an adhesive. And just like in the previous step, you need to make sure that everything is free from any unevenness. We’re halfway there!
6. Lay oven floor
When it comes to stage number six, you should lay out the bricks on your already placed capstone and then start mixing the mortar. Actually, you need to use mortar that is suitable for joining fire bricks.
Refractory mortar is the best choice, due to the fact that it’s a mix of cement, fireclay, sand, and other specialised ingredients. But remember not to use too much of it – the purpose of using mortar is only to assist in forming the brick walls or floors. When your mortar is ready, apply it on the previously mentioned bricks. It is highly recommended to leave the oven floor for a day.
7. Plan dome construction
Another step is creating a mould in order to build the dome. This is something that has to be done before laying any “new” bricks. For this purpose, you can use plywood and 2x4s. Just draw the dome shape on the plywood and then cut it with the use of a jigsaw. Do the same with the second one. After that, you ought to attach those two pieces of plywood to the 2x4s.
8. Build your dome
The mortar that you needed in the previous step can come in handy once again. In this case, nothing helps to create the shape better than the refractory mortar. This time, you will have to apply thicker layers of mortar if you want the shape of the dome to be rounded. The closer to the top, the more mortar you will need. Probably it will be necessary to cut bricks to the appropriate dimensions.
One more thing you have to remember is that leaving a gap is a must if you want to add a chimney to your DIY pizza oven. The gap should be at the very top of the dome. Also, bear in mind that the front of the pizza oven is a much better option than the back.
9. Create chimney

Second to last stage is creating a chimney, for which you have left the gap before. With the use of bricks, you should make a chimney which is four to five layers high. What do you think may be a useful thing to secure the bricks? Yes, you’re right! The right answer is, of course, mortar. Again, you have to check whether everything is level or not. It has to be!
10. Remove mould and sand mortar
This is how we almost got to the end of the building process. All that’s left to do is to wait three days or more to let the mortar dry. After that time, you should carefully remove the mould, and all the nails or screws around your wood fired oven.
We bet you already want to cook your first meal in your outdoor pizza oven, but before you do that, you should get rid of the remains of sand and mortar by sanding it away. The surface along the oven floor has to be smooth!
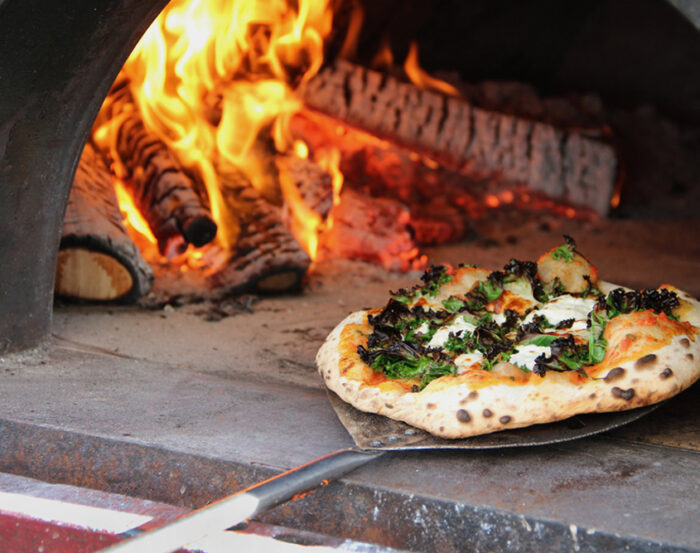
Outdoor pizza ovens are created for cooking. And finally, after ten stages of building, you can start your wood fired cooking in your own perfect oven! However, you have to remember to keep your oven clean, which will be easy with the use of a damp cloth. It will help to loosen the debris and as a result, it will be easier for you to scrape it away.
Summary
There’s nothing holding you back from trying to build your own pizza oven. As you can see now, the building process is not as demanding as it might seem at the beginning. You should just patiently do everything one step at a time and follow the instructions. Do not be discouraged by some potential little failures. We keep our fingers crossed for your success!


